Ancient MIB's
Part 1: Overview, Rules & Preparation
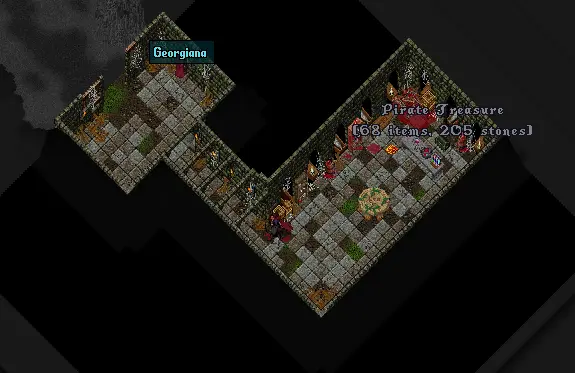
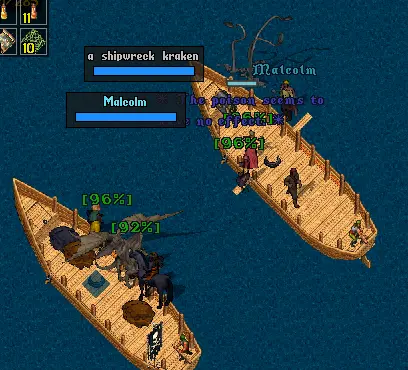
AMIB's or ancient messages in a bottle are a scroll instance you can enter solo or with friends to kill mobs and obtain rare items. You can obtain these from Shipwreck Krakens. Fishing with GM skill has a very low chance to pull up a shipwreck kraken. You can also toss a net off your boat in deep water and if a ghost ship appears it will have spawn defending it along with a Shipwreck Kraken. Red amib instance Shipwreck Krakens do not carry amibs on them.
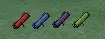
There are 4 different AMIBs that can be collected. In order from easiest to hardest they are Red, Blue, Purple, and Green.
Each AMIB has different types of spawn to kill, mini bosses and bosses to collect keys from for opening doors to advance farther through the instance, or to unlock loot chests. There are also possible backpack drop rares and statues that can drop from quite a few things. Each final chest will contain 1 of 16 different ore hue metal chests. You can also get 1 of 5 different bone container types or 1 of 12 different dusty/moldy paintings from the chests.
Also inside AMIBs you will collect doubloons from anything that you can kill, aggressive or not. A small scroll will popup showing when you have collected your first doubloon and keep track of the current instance you are in. You can close the doubloon scroll, but it will not open back up until you receive another doubloon. You can check how many doubloons each character has either by going to the bazaar or on the [profile page 2nd tab up on the bottom right.
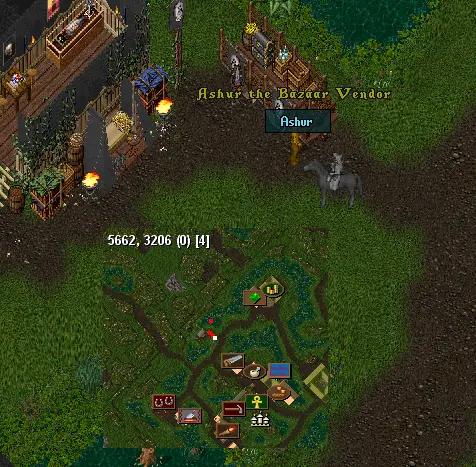
Doubloons are a special currency used at the Bazaar in Papua, located on the path between the bank and the stable. Completed scrolls turn grey and can be turned into the NPC at the Bazaar for +1 doubloon each.
Keys collected inside the AMIB are also newbied. Always keep them in your main pack. If you don't unlock the doors/gates along the way and die past one, the key will remain on your corpse if not in your main pack. It's best to manually loot these to make sure you always have them in the proper bag. There are 2 keys in Red and Blue, and 3 keys in Purple and Green.
Weapons Required & Recommended Strategy
- Slayers: Repond, Silver, and a Runic or Vanquishing weapon. Elemental Ban is optional for the Red scroll (Ooze miniboss).
- Instruments: Exceptional instruments can work for all. Most mini bosses/bosses are not a slayer type. Silver and Repond instruments can also be used. Repond can help greatly in the Green AMIB boss fight.
- Character Builds: Conquering these instances is best with a bard dexxer. Other builds can accomplish these also. As a bard dexxer, provoke is your best friend and discordance can greatly weaken the boss types and casters.
- Pets: Pets can be used but are not recommended for Blue or Purple. Green is also questionable during the boss fight due to boss area mechanics.
- Golden AMIB: Completing a full cycle of each color will award you a Golden AMIB for each complete cycle you do!
Ironman Qualification
Ironman qualification for AMIBs is 2 followers and 1 player — enough for a mount and a pack horse if needed. Other builds have completed these with a nightmare on foot or using other tames.
Part 2: Red AMIB Walkthrough
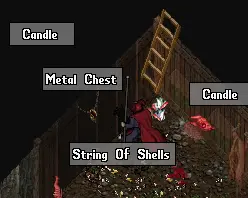
1 of 4 String of Shells (Located in the hidden smuggler hole behind the red banner)
Elemental Ban slayer is optional for Ooze miniboss; use Vanquishing / Runic if no slayer. Repond for pirates, Silver for beach cave undead.
Enemies Inside Red AMIB
- Partially Digested Pirate — Statue drop
- A Liquified Pirate
- An Island Snake
- An Ooze Monster
- A Kraken Handler
- A Shipwreck Kraken
- Pirate Laborer
- Pirate Drunk (Key tank mob — keep alive!)
- A Jungle Panther
- Pirate Sailor
- Pirate Lookout — Pirate Bow drop
- Pirate Boatswain
- Pirate Cook
- A Cannoneer
- Pirate Bartender (Mini Boss) — Pirate Grog drop / Keyholder
- The Dread Captain (Boss) — Pirate Captain's Spyglass / Dread Pirate Hat / Final Keyholder
Beach & Northern Cave
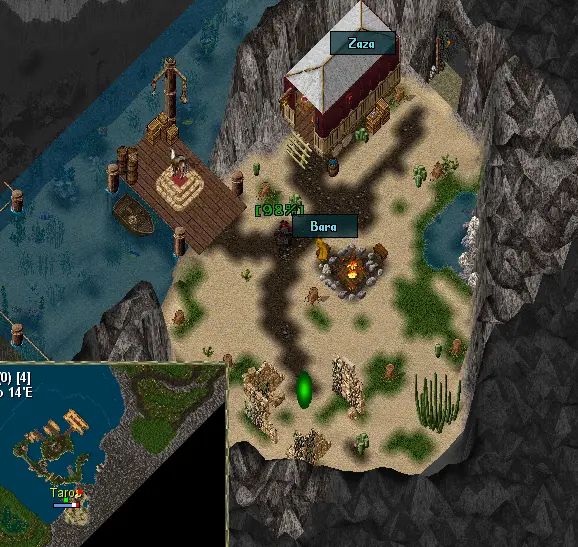
This scroll starts off on a beach and you must enter the northern cave. It is all undead/silver in this area besides the Ooze mini boss. He does not carry a key but is required to kill to unlock the gate. You can provoke onto him to take his aggro off. Watch out for poison puddles on the ground that damage you and continuously poison you until you move a tile or the puddle decays. It takes 30-45 seconds for them to decay.
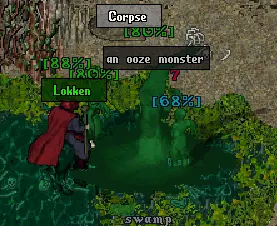
Once everything is dead, make your way through the gate leading west. It is Repond from here out besides the final boss.
Pirate Encampment & Center Island
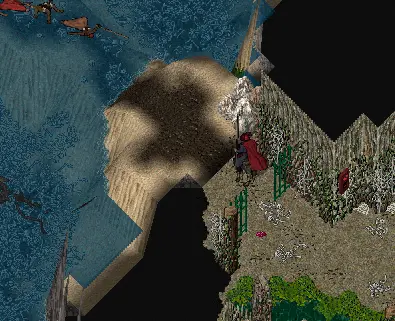
You can provoke the 2 sets of shipwreck krakens on each other and work your way through the pirates. Drunks are able to be provoked onto any of the red pirate spawn. Red cannot provoke on red in these scrolls. You can cross-heal the drunk and use it as a tank and just keep provoking things onto it. The path to the end is straightforward.
As you make your way to the small island in the middle, the first real mini boss is guarding the center: The Bartender. You can provoke him, but once you aggro and damage him he will throw exploding kegs that burn an area if you go 2 tiles or more away from him. Make sure as you are clearing this area to keep a drunk alive for the final section. Do not go north yet — the cannoneers will fire the cannons and you will take damage.
Once the spawn is dead and you have the key from the bartender's body, you can unlock the chest in the middle of the island. Don't forget: these are all trapped chests in AMIBs!
Hidden Smuggler Hole (Monthly Rare)
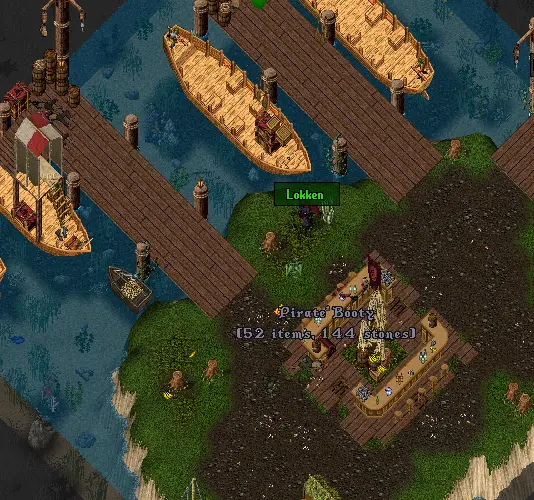
There is a hidden ladder behind the red banner in the center. From the north side, stand close to the western bar and walk south toward the red banner. Inside this smuggler hole the monthly Rare 1 of 4 String of Shells can spawn.
The Dread Captain Ship & Final Chest
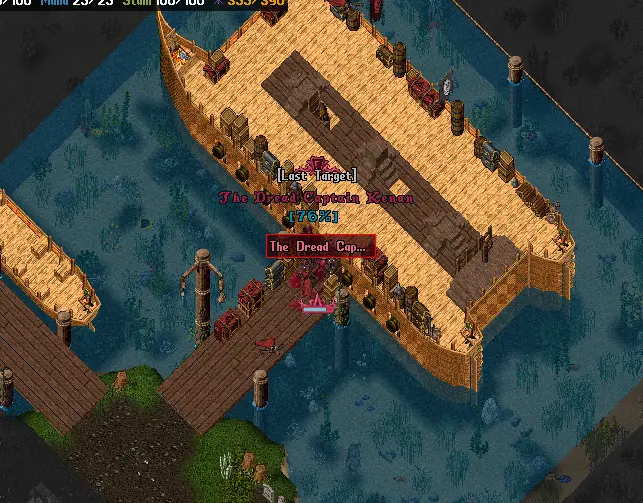
As the bartender dies the cannons also disappear and the cannoneers become free for you to kill. You can now board the large boat on the north. The Dread Pirate is on the ship the cannoneers were guarding. You can provoke the dread pirate so make sure to save a drunk for the fight. He will need a good bit of cross healing during this fight.
The Dread Pirate also has no slayer, so use runic/vanq on him. You can Deadly Poison (DP) him and discord him, and use molotovs to speed this battle up. He carries a key, so be sure to claim it from his corpse once dead.
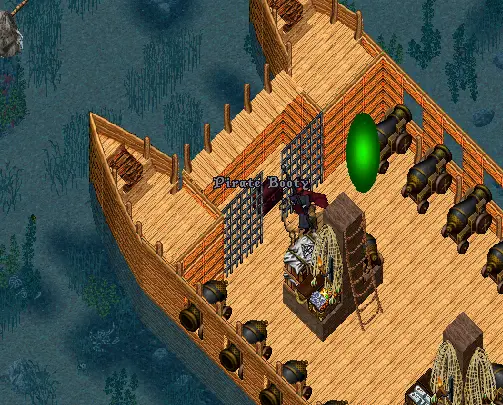
Clear any remaining spawn and head to the lower section of the Dread Pirate's boat. The final chest is on the west side along with the exit gate.
Part 3: Blue AMIB Walkthrough
1 of 2 Blue Ichor (Located in the lighthouse basement on the northern wall; appears as blood)
Pets are NOT recommended because the boss area attack hits through all lighthouse floors! Silver slayer for basement adds; Runic/Vanq for boss.
Enemies Inside Blue AMIB
- Pirate Lookout — Pirate Bow drop
- Pirate Navigator — Pirate Bow drop
- Pirate Laborer
- Pirate Drunk (Great provoke tank)
- Pirate Boatswain
- Pirate Shipwright
- Pirate Officer
- Pirate Quartermaster (Dangerous caster)
- An Island Snake
- A Jungle Panther
- A Golem Laborer
- Pirate Digger (Area stomp attack)
- Pirate Overseer (Mini Boss) — Keyholder for cave chest & stone bridge gate
- A Drowned Pirate — Statue drop
- A Drowner — Statue drop
- An Ancient Drowner (Boss) — Statue drop / Final Keyholder
Entry Way & Stone Bridge Approach
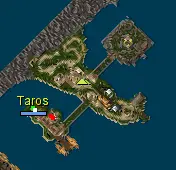
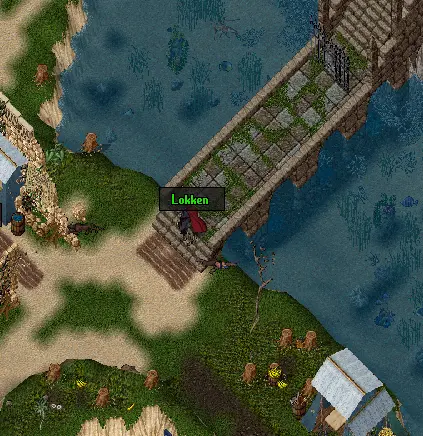
The entry way starts on a small island. Cross the bridge going north to start this direct line through the mobs. Kill your way through and bring a drunk along with you.
Once you get to the area opening up from the small pathway, there will be an officer on the stone bridge on the north that is a bit stronger than everything else you have encountered. There is also a quartermaster up in the open area that is a nasty caster, along with a digger that has an area stomp effect. You will want to lure and kill all 3 of these separately. All can be provoked. It is easy to get overwhelmed with 2 or all 3 at once.
Western Cave & The Overseer
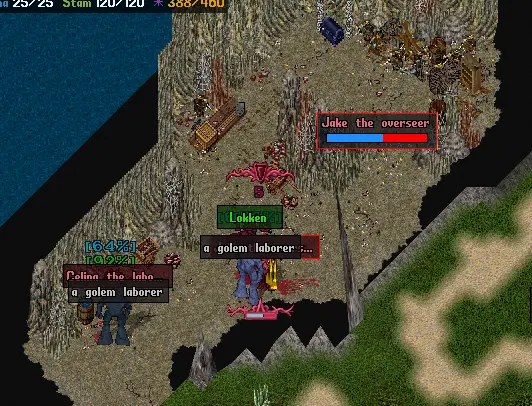
There is a cave at the west side of the open area. Inside are more things to kill, one of which is the Overseer. He is a keyholder for the chest in this cave and the gate on the stone bridge. If you aggro him and move 2+ tiles away he has an exploding keg he will throw at you.
Lighthouse Ascendance & Floors
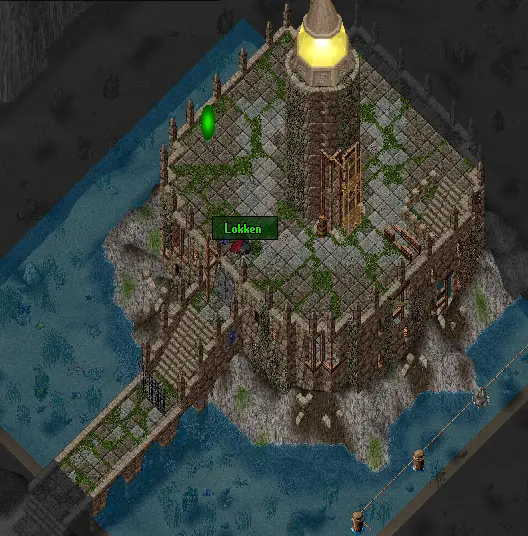
Once you have the chest looted, make your way across the stone bridge. The final tile on this bridge will teleport you to the roof so be ready.
There are 3 floors to the lighthouse. A quartermaster is in the middle floor. You can sometimes open the door standing on the west side of the bridge before the teleporter, allowing you to lure him out onto the stone bridge to kill him with ample room to maneuver.
The Ancient Drowner & Basement Fight
Work your way through the upper and middle lighthouse floors. Once ready, the Ancient Drowner boss is in the bottom. Once you aggro him he will raise a bunch of spawn up from the ground to attack you and can also use his area attack.
These spawn of his are all undead/silver. It is best to lure things upstairs and not try to fight it all at once. The boss will use an area attack if you are 2+ tiles away from him. It won't attack you upstairs, but if there are pets there he will attack them through ALL floors of the lighthouse nonstop until the pets or he is dead! If the boss happens to chase you past the stairs, hitting him once will make him teleport back into the basement (there is a bug that allows him to sometimes walk over tiles he shouldn't pass).
The boss himself is runic/vanq and cannot be provoked, but can be discorded. You can also DP him and throw molotovs if you are able to stand still and tank him. He carries the final key for the chest in the east part of the basement floor.
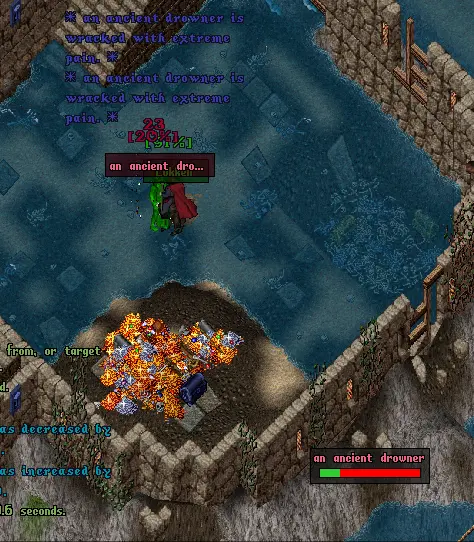
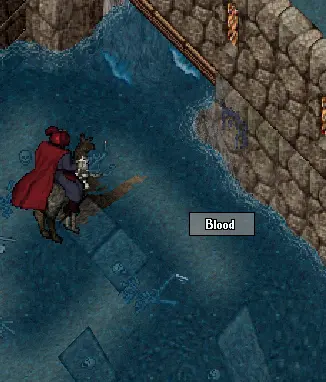
Down in the basement you can find the monthly spawning rare on the northern wall — it will show as blood.
Part 4: Purple AMIB Walkthrough
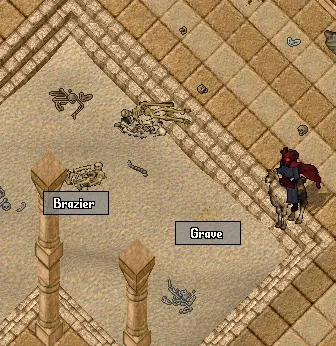
1 of 2 Sandy Grave (Found in the central sand pit on the northern side of the boss room)
Acid pools that melt for 20+ HP every few seconds! Boss area attack spams heavily if pets are present.
Enemies Inside Purple AMIB
- Pirate Lookout — Pirate Bow drop
- Pirate Navigator — Pirate Bow drop
- Pirate Laborer
- Pirate Drunk
- Pirate Boatswain
- Pirate Shipwright
- An Island Snake
- A Golem Laborer
- Pirate Ghost (haunting/enraged/restless/angry) — Siren Statue drop
- An Ancient Spectre — Statue drop
- Siren — Statue drop
- A Quicksand Horror (Mini Boss) — First Keyholder
- A decaying Mummy
- A Sand Knight (Mini Boss) — Statue drop / East Gate Keyholder
- A Sand Spinner (Mini Boss) — Statue drop
- A Sand Skeleton — Statue drop
- A Sand Demon (Boss) — Statue drop / Final Keyholder
First Island & North Passage
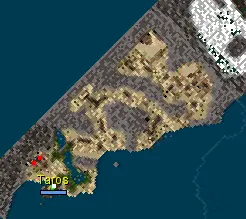
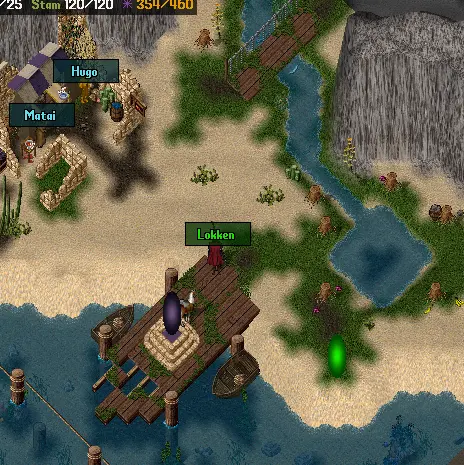
The starting point is a small island. Across the bridge north is a direct line to the first miniboss. There is a quartermaster in this first area. The golem and snake can be provoked on the pirates to make this area easier.
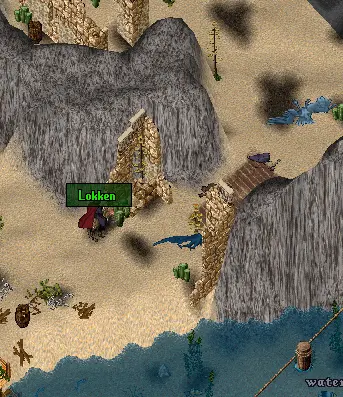
Around the mountain there is an entry way into another area north. This is all undead/silver except the siren and quicksand horror, which are runic/repond.
Quicksand Horror Mini Boss
At the end of this area is the Quicksand Horror mini boss. It is best to try to keep at least 2 of the ghost pirates to provoke on him. You can cross-heal them if needed. This mini boss will drop acid on the ground around him that will melt you for 20+ HP every few seconds. Watch your health closely and move when needed!
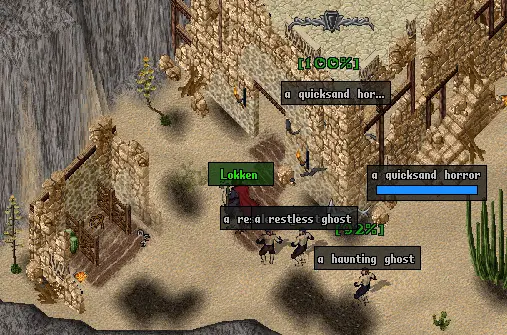
Retrieve the key from its corpse. The chest is in the small building at the end of this area where the horror was located. The gate leads down to the next section and the exit gate for once you are done. It will be undead/silver through these passages and down the stairs to the ground floor.
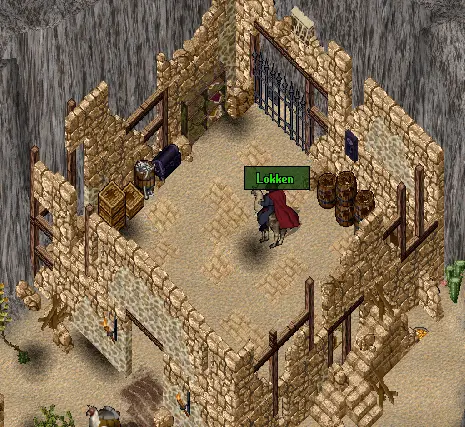
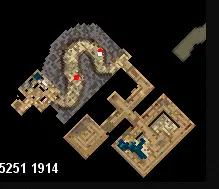
Lower Hallway: Sand Knight & Sand Spinner
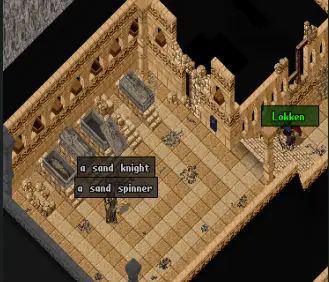
At the south end of the lower hallway is a Sand Knight and Sand Spinner. You do not want to fight these at the same time. The sand spinner casts magic quickly and the sand knight hits very hard. You cannot provoke either, but you can discord them. DP and molotovs help here also. The sand knight holds the key to the east gate.
Sand Demon Boss Room & Dual Chests
This is the boss room. 3 sand skeletons and the Sand Demon boss start out this fight. As you damage the sand demon, it will periodically raise a few sand skeletons at a time throughout the fight. You can lure the boss into the hallway and fight the skeletons after if needed.
No provoke on the sand demon. Discord, DP, and molotovs greatly help this fight out. Not often, but occasionally the boss can drop acid on the ground. It will also use an area effect if you are 2+ tiles away. It really does not like pets and will overuse the area effect if they are present.
Once you get the final key and clear the room, there are 2 chests to loot on the northern wall. The chest on the north-east side is considered the final chest.
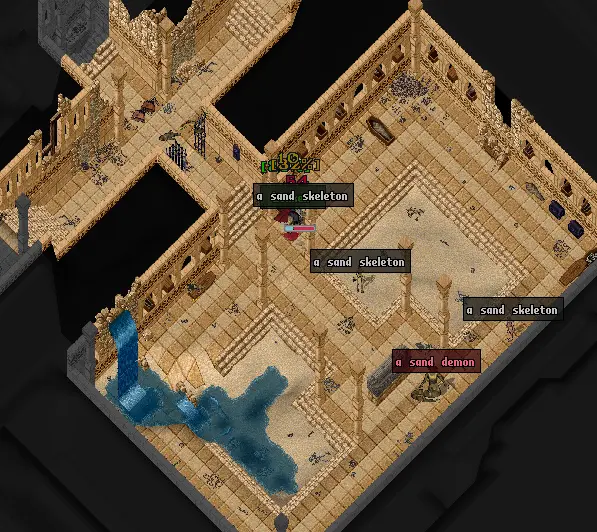
The monthly spawning rare, the Sandy Grave, can be found in the northern side central sand pit.
Part 5: Green AMIB Walkthrough
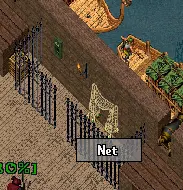
1 or 2 Large Nets (Located inside the caged area halfway across the lower ship deck)
Multi-phased boss battle! Necromancer teleports, paralyzes, and summons 3 waves of casters. Repond slayer instruments help immensely.
Enemies Inside Green AMIB
- Pirate Quartermaster
- Pirate Navigator — Pirate Bow drop
- Pirate Drunk (Crucial tank — only one exists, keep alive!)
- Pirate Sailor
- A Canoneer
- A Golem Laborer
- Pirate Boatswain
- Pirate Shipwright
- Pirate Laborer
- Pirate Officer
- First Mate (Mini Boss) — Cave Chest & Cavern Gate Keyholder
- Second Mate (Mini Boss) — Top Deck Chest & Lower Deck Door Keyholder
- Pirate Ghost (haunting/enraged/restless/angry)
- A Bone Collector — Statue drop
- A Corpse Carrier — Statue drop
- An Ancient Spectre — Statue drop
- Shambling Bones — Statue drop
- A Reanimated Pirate
- An Unearthed Pirate
- A Necromancer's Apprentice
- A Necromancer's Acolyte
- A Pirate Necromancer (Boss) — Statue drop / Final Keyholder
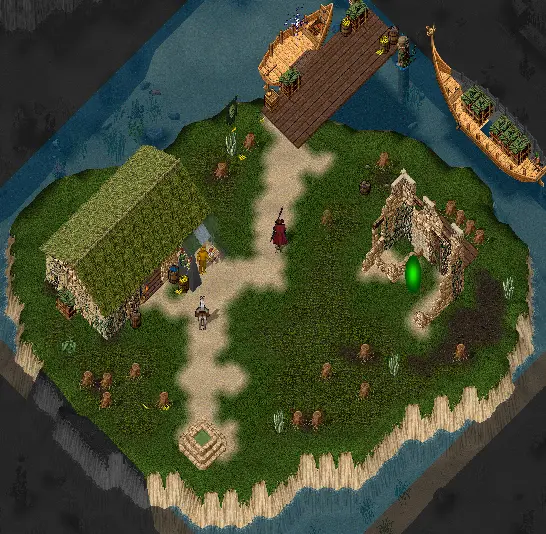
Starting Island & Top Ship Deck
The starting point is a small island. On the north-west corner is a sparkle to the main boat. Sometimes extra spawn can appear at the start of the main boat. Work across the boat and bring the only drunk there is along for the ride.
At the east end is the Second Mate. He can be provoked, discorded, DP'd, and molotov'd to help. He holds the key for the chest above him and the doorway to the lower deck.
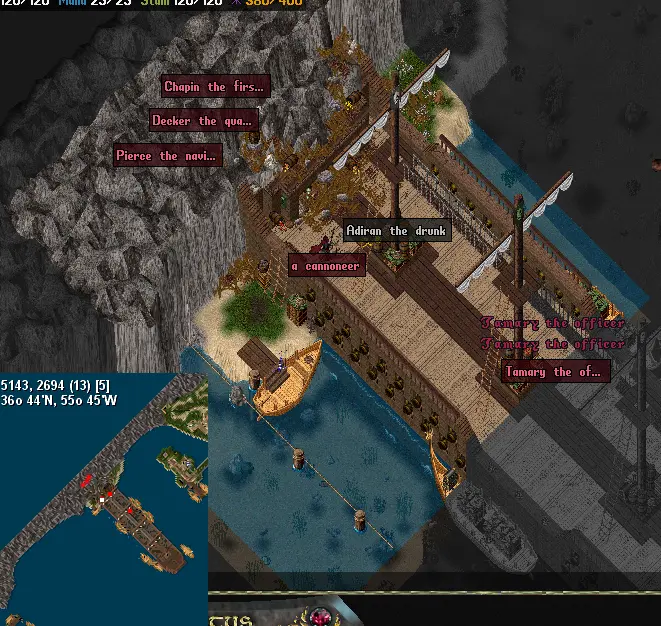
Lower Deck & Caged Rare Net
The eastern stairway on the top deck leads up to the room with the first chest in it. Follow the pathway down through the door and into the lower area.
There is a caged area halfway across the lower deck. Inside the cage is where the Monthly Rare Large Net can spawn. There is a quartermaster and an officer down here. Make sure to keep the drunk alive for the next room! At the west end of the lower floor is a doorway into a cave.
Cave Room & First Mate
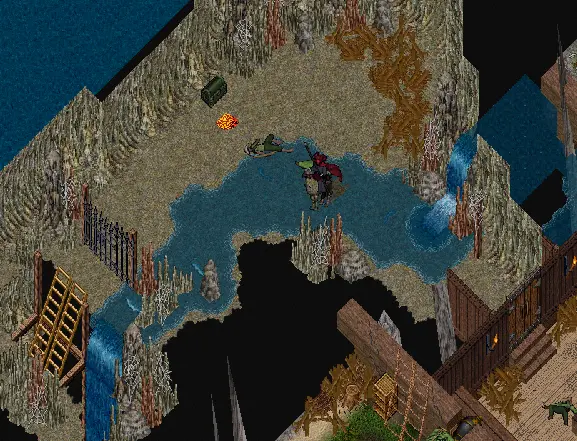
In here is another quartermaster, navigator, and the First Mate. The First Mate can also be provoked, discorded, DP'd, and molotov'd to help. The First Mate holds the key to the chest in this room and the gate to get into the cavern section.
Cavern Preparation
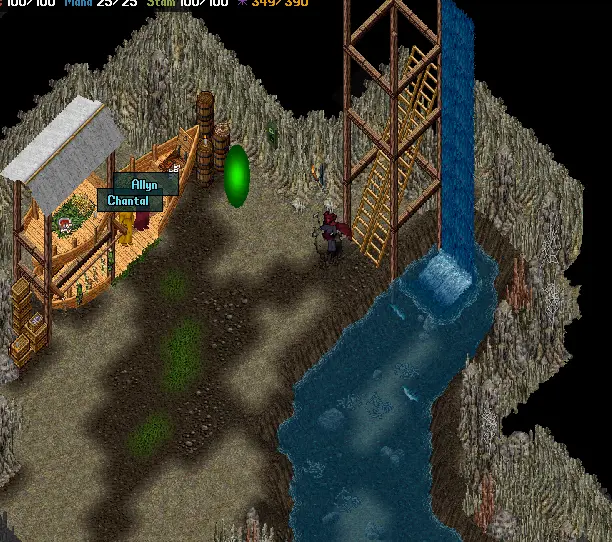
Once downstairs this area will be undead/silver. Work down toward the large open area and you will see the Pirate Necromancer. Because of the way he spawns extra things to kill, it is important to kill as much of this spawn around him as possible without getting his attention.
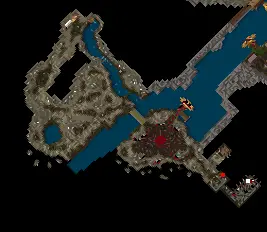
There is also a bridge on the north-east corner of this area that leads to another island. 4 more things can be pre-killed here before the boss fight. Once you are prepared, get ready for a rough battle!
Slayers: Pirate Necromancer is runic/vanq, Necromancer Apprentice and Acolytes are Repond, and everything else is Silver.
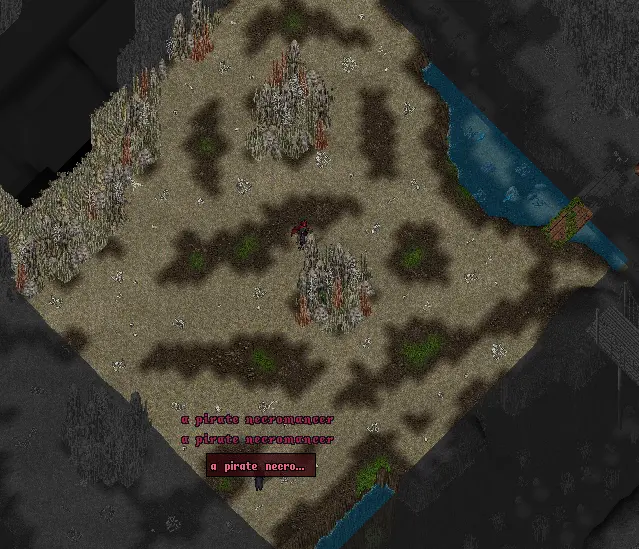
Boss Fight — Phase 1 (100% → 48%)
This boss will teleport to the center of his area, paralyzed, and spawn 3 sets of 3 mobs at specific HP milestones. He also uses area damage if you are 2+ tiles away. He loves to triple cast spells and hits very hard!
- At 92% HP: He will teleport and spawn mobs. The first set of mobs has a spectre in the north spawn and an apprentice in each of the 3 spawns. All of them are casters, so once he spawns his mobs, drop back and work your way back in.
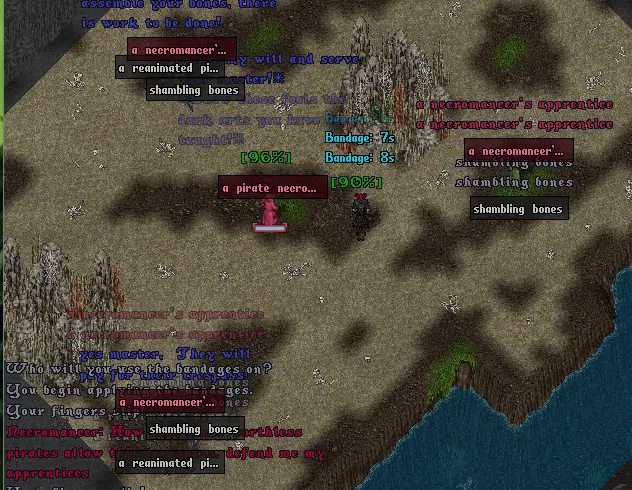
You can also DP and toss molotovs on the Pirate Necromancer while he is paralyzed. That will still cause him to spawn the next set of mobs once his health reaches the proper %. If you have a lot of spawn alive still it could get overwhelming very fast.
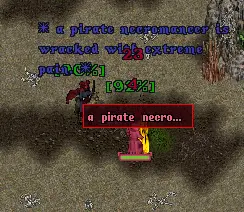
As you kill spawn he will speak messages out. He will say a message 1-2 times, then the last message will be that he is free from his paralysis.
- At 72% HP: His next paralyze and respawn of 3 more sets occurs. This time the east and south-west sides both have a spectre with them along with an apprentice in each of the 3 sets.
- Keep the cycle going until he reaches 48% HP. He will then teleport to the eastern island and start the final phase!
Boss Fight — Phase 2 (Elder Demon Form)
Once he is on the next island, his form will change to an Elder Demon and 3 groups of spawn will rise up with him. There is an acolyte in each of the 3 groups and a spectre in the eastern group. He begins this island paralyzed. Continue cutting down the mobs until he is at 28% HP.
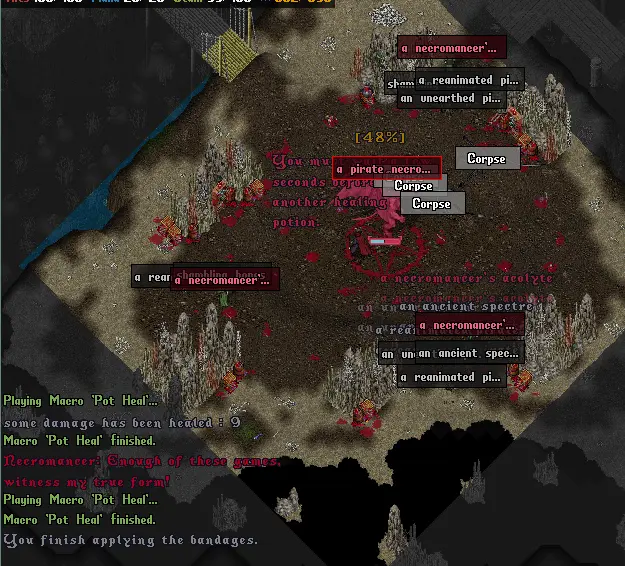
- At 28% HP: This is the final spawn. There is an acolyte in each of the 3 groups along with a spectre in the northern and south-eastern groups.
Once defeated, grab the final key from his corpse. Down the eastern hallway and turning north is the final chest. Next to the healer in this hallway is a gate that can be unlocked that will lead to the starting island.