Zookeeper Quest
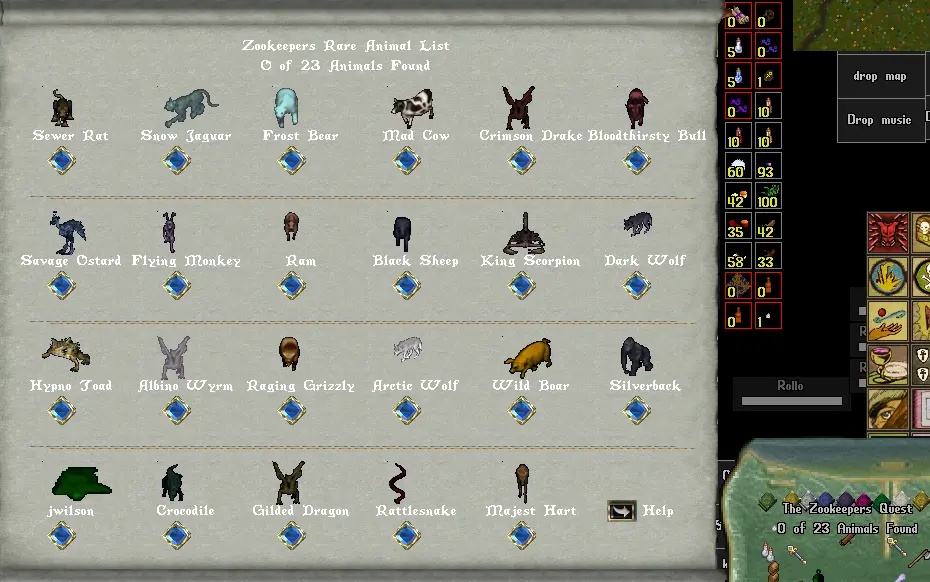
Overview & Quick Facts
The Zookeeper Quest (often referred to as the Wild Tamer Event or Zook Run) is one of the most rewarding and collaborative PvM and Taming features on UO:Renaissance. Introduced in Patch 52 and updated with modern event mechanics, it offers tamers a repeatable path to expand both their bonded pet capacity and stable slots.
The quest is divided into two distinct chapters:
- The Hunt (The 23 Rare Animals): Adventurers purchase a quest scroll and journey across Britannia to locate, tame, and deliver 23 rare and elusive animal species to the Moonglow Zoo.
- The Expedition (The Lost Land Dungeon): Completing the scroll produces a magical green scroll that summons a gateway to an instanced jungle territory. Here, a party battles through three brutal boss gauntlets—facing rogue tamers, prehistoric beasts, and the fearsome Rabbit of Caerbannog—to earn the blessings of the Village Elder.
| Feature | Details |
|---|---|
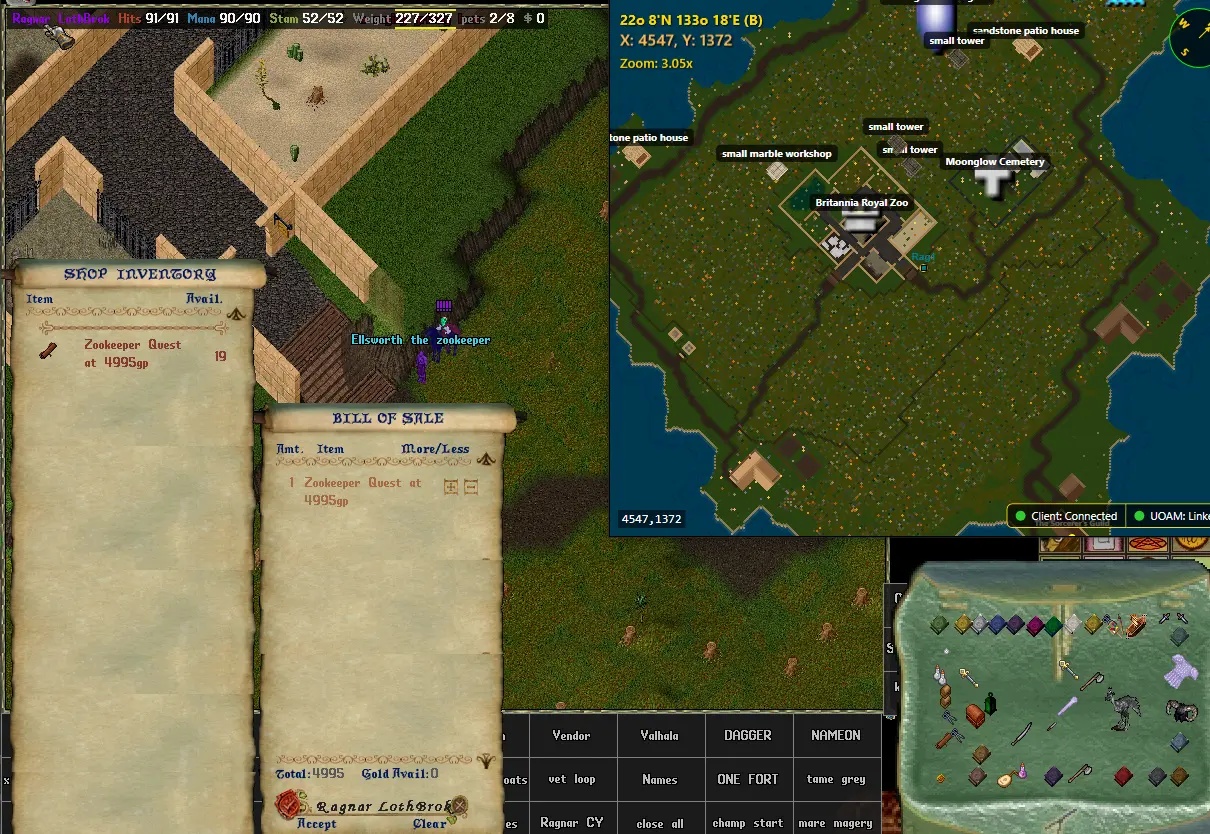
| Quest Starter | Moonglow Zookeeper (at Moonglow Zoo, south of the Moonglow Graveyard) |
| Initial Cost | **4,995 Gold** to purchase the blessed Zookeeper Quest Scroll |
| Objective | Tame and turn in **23 unique rare animal variants** |
| Spawn Type | Rare force-spawns triggered by culling normal creatures of the same type |
| Dungeon Capacity | **11 Bond Slots** awarded per completed scroll (1 for scroll owner + 10 designated party members) |
| Participation | Unlimited players may enter the 60-second gate to fight; up to 11 receive bond rewards |
| Instance Limit | 2 Hours total duration |
| Repeatability | **Unlimited** — can be repeated as many times as desired |
| Ironman Award | Available for 2-tamer parties completing the dungeon within 2 hours |
| Key Drops | Masks of the Wilds (various hues), Hockey Tribal Masks (hue 1845 & 2001), Peculiar Meat, Monster Statues, Knight's Strongbox, and Spawning Rare Painting |
The 23 Rare Animals Codex
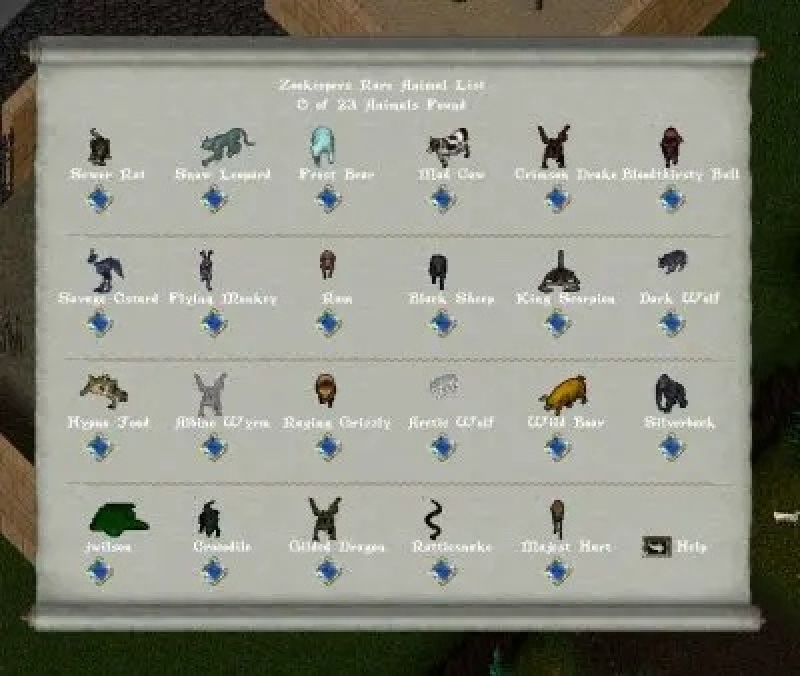
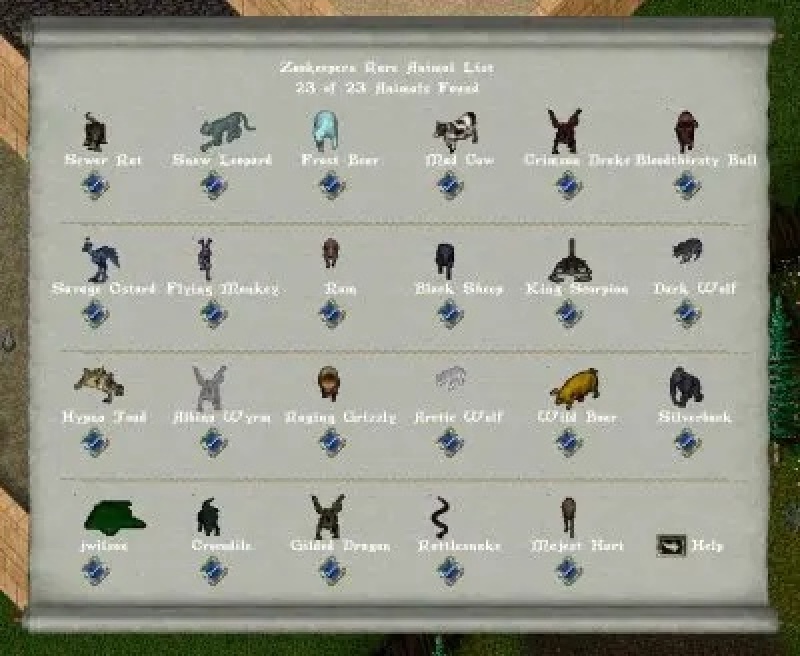
Below is the definitive visual catalog of all 23 rare creatures required to complete the Zookeeper Quest scroll. Slaying normal counterparts of each animal triggers a chance for the rare version to spawn in the vicinity.
| Specimen Image | Rare Animal | Base Species | Prime Hunting & Force-Spawn Locations |
|---|---|---|---|
 |
Albino Wyrm | White Wyrm | Ice Dungeon |
 |
Arctic Wolf | White Wolf | Dagger Island (Ice Island snowfields) |
 |
Black Sheep | Sheep | Yew Sheep Farms, Britain Farms |
 |
Bloodthirsty Bull | Bull | Jhelom Farms, Britain Farms |
 |
Crimson Drake | Drake | Dungeon Destard |
 |
Crocodile | Alligator | South Trinsic Jungle, Hopper's Bog (T2A) |
 |
Flying Monkey | Mongbat | Forests across Britannia, Dungeon Despise entrance |
 |
Frost Bear | Polar Bear | Dagger Island snowfields |
 |
Gilded Dragon | Dragon | Dungeon Destard |
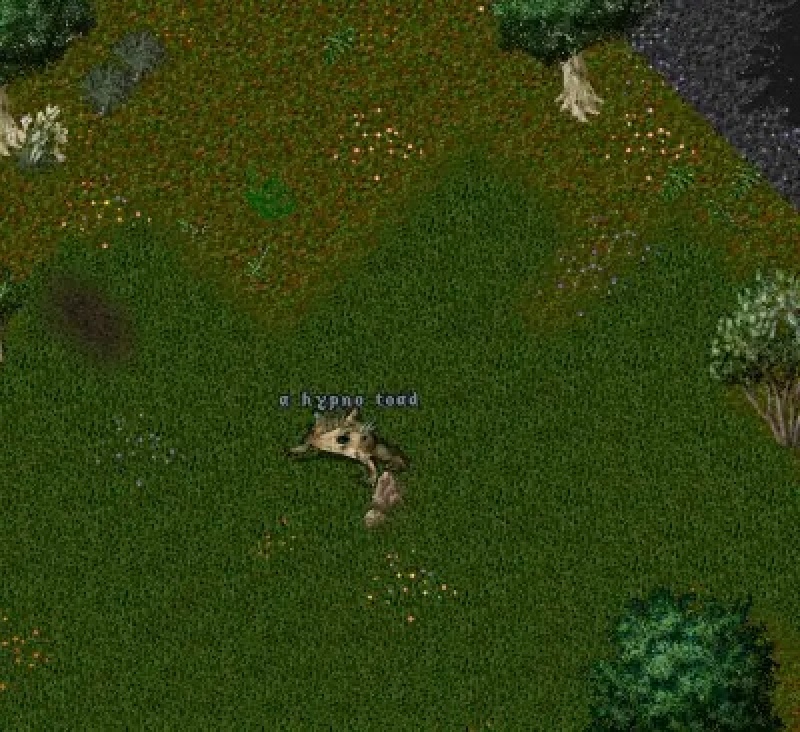 |
Hypno Toad | Giant Toad | Britain Sewers, Hopper's Bog (T2A) |
 |
jwilson | Slime | Low-level dungeons (Despise L1, Britain Sewers) |
 |
King Scorpion | Scorpion | Compassion Desert |
 |
Mad Cow | Cow | Jhelom Farms, Britain Farms |
 |
Majestic Hart | Great Hart | Jhelom Farms, Yew & Britain Forests |
 |
Raging Grizzly Bear | Grizzly Bear | Forests of Britannia (Yew, Britain, Trinsic) |
 |
Ram | Mountain Goat | Mountain ridges, Britain Farms |
 |
RattleSnake | Snake | South Trinsic Jungle, Hopper's Bog, low-level dungeons |
 |
Savage Ostard | Frenzied Ostard | Lost Lands (T2A) Ostard breeding plains |
 |
Sewer Rat | Giant Rat | Britain Sewers, Hopper's Bog (T2A) |
 |
Silverback Gorilla | Gorilla | South Trinsic Jungle |
 |
Snow Jaguar | Snow Leopard | Dagger Island snowfields |
 |
Wild Boar | Pig / Boar | Britain Farms, Yew wilderness |
| 🐺 | Dire Wolf | Dire Wolf | Grim Stables area, Blood Dungeon wilderness, forests across Britannia |
Step 1: Obtaining the Quest Scroll
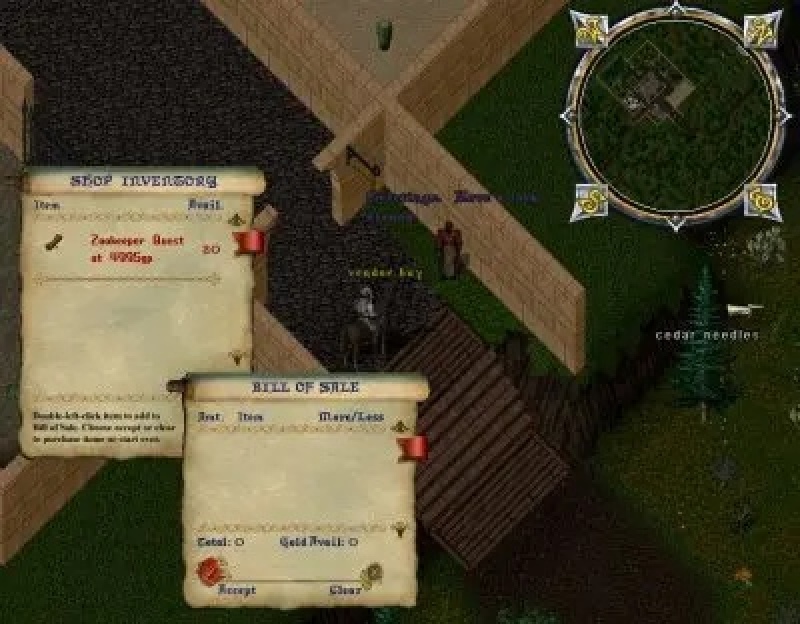
- Double-click the Zookeeper to view his request dialog.
- Purchase the List of Needed Pets for 4,995 Gold.
- The Zookeeper delivers a blessed quest scroll into your backpack.
- Double-clicking the scroll opens the Zookeeper Quest Gump, displaying your live progress (0 of 23 animals found).
- Because the scroll is Blessed, it is completely safe from theft or loot loss while you travel through dangerous territory.
Step 2: Tracking & Force-Spawning Mechanics
- The Hunter-Tracker Advantage: Having a character with the Tracking skill is invaluable. When a rare animal spawns, it may wander away from the spawn point into thick woods or nearby caverns. Tracking allows you to pinpoint its exact location immediately.
- Efficient Farming: Concentrate on dense spawn regions such as Dagger Island (Snow Leopards, Polar Bears, White Wolves), Britain Sewers & Hopper's Bog (Giant Rats, Toads, Alligators, Snakes), and Destard (Dragons and Drakes).
- Community Trading: Rare animals can be stabled, traded, or transferred between players. Guildmates often collaborate by taming and banking rare pets to help complete a member's scroll.

Step 3: Turning In Animals to the Moonglow Zoo
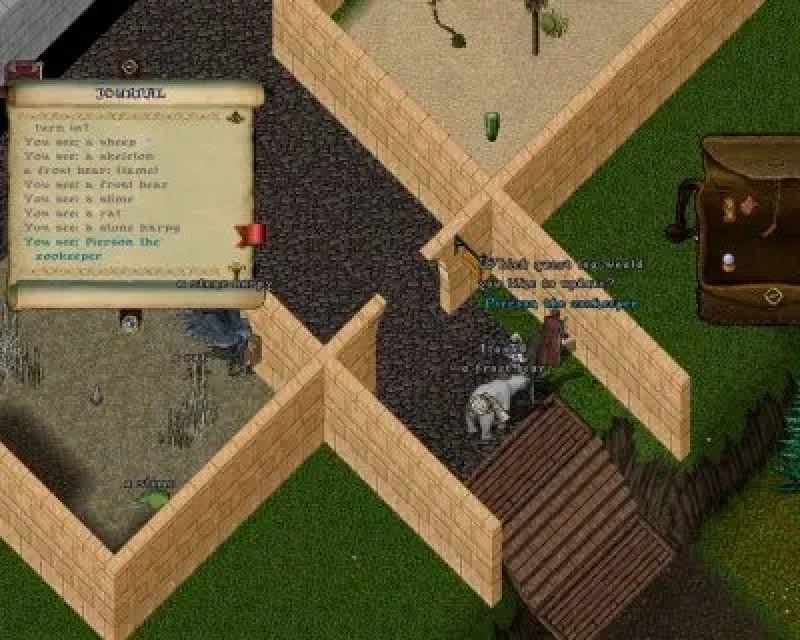
- Lead or gate the tamed pet directly into the Moonglow Zoo courtyard near the Zookeeper.
- Stand near the Zookeeper and say the keyword
Quest. - A targeting cursor will appear: target your Quest Scroll first.
- A second targeting cursor will appear: target the rare animal you wish to submit.
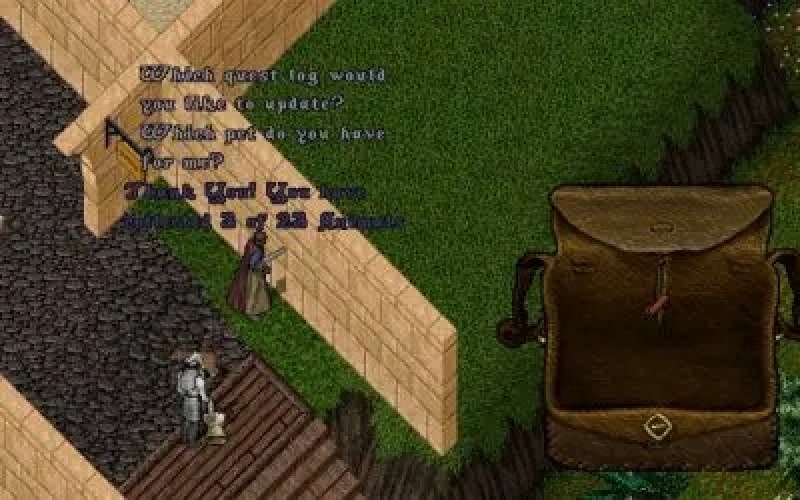
- The Zookeeper will accept the animal, praise your efforts, and place the creature into its dedicated zoo enclosure for all citizens to admire.
- Your quest scroll will automatically update with a blue checkmark beside the submitted animal.

Step 4: Activating the Magical Expedition Scroll
- Return to the Moonglow Zookeeper and drag and drop the completed scroll onto him.
- The Zookeeper will reward your dedication with a Magical Green Scroll.
- ⚠️ Important Note on Scroll Blessed Status: When first received from the Zookeeper, the green scroll is not yet newbied/blessed. Take care not to carry it into hostile PvP areas before activation. Once double-clicked to open the expedition gate, the scroll becomes fully Blessed!
- Double-clicking the green scroll triggers a confirmation warning prompt before opening the gateway.
- Upon confirmation, a shimmering moongate appears for 60 seconds, transporting any adventurer who steps through to the expedition base camp in the lost lands.
<img src="/wiki/images/events/zook_scroll_reward.jpg" alt="Completed Scroll Given to Zookeeper" style="border: 1px solid #d4af37; border-radius: 4px; max-height: 100px; margin: 3px;" />
<img src="/wiki/images/events/zook_guide_green_scroll.jpg" alt="Green Scroll" style="border: 1px solid #d4af37; border-radius: 4px; max-height: 100px; margin: 3px;" />
<img src="/wiki/images/events/zook_warning_gump.jpg" alt="Warning Gump Before Opening" style="border: 1px solid #d4af37; border-radius: 4px; max-height: 100px; margin: 3px;" />
<img src="/wiki/images/events/zook_guide_scroll_info.jpg" alt="Scroll Warning" style="border: 1px solid #d4af37; border-radius: 4px; max-height: 100px; margin: 3px;" />
</html>
Step 5: Party System & The "Zook" / "Pap" Shortcut
The modern Zookeeper Quest provides a total of **11 Bond Slots**:
- **1 Slot** automatically reserved for the scroll owner.
- **10 Slots** that the scroll owner can designate to other characters.
- **Rule:** A character can only receive **1 bond slot per scroll**. You cannot grant multiple slots to the same character in one run.
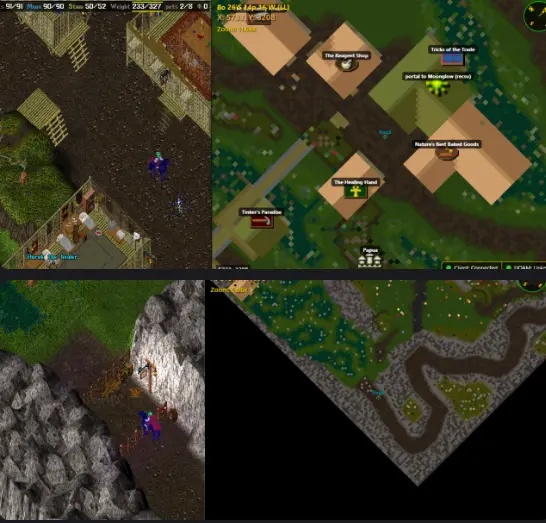
- Have the character stand near the entrance gate and say
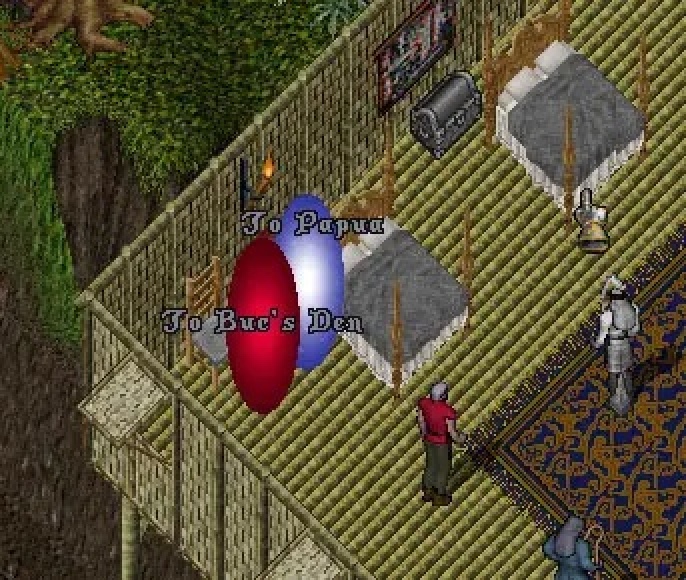
Zook. - The character will safely teleport to the Zookeeper Fence enclosure.
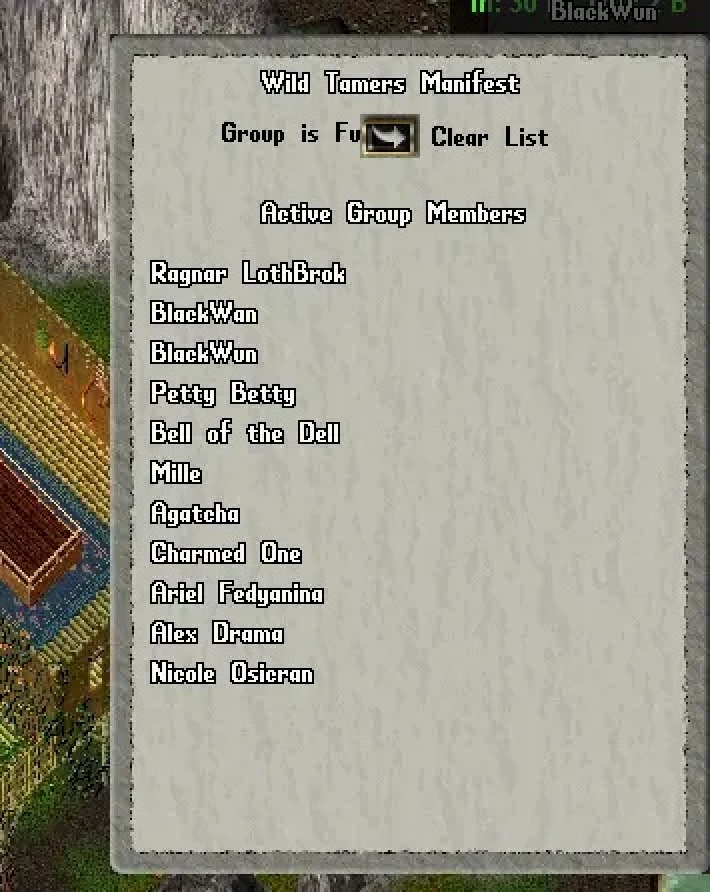
- The scroll owner targets the character using the scroll gump to add them to the 11-player roster.
- Once registered, the character walks near the sparkle by the fence and says
Papto instantly teleport back to safety! - You can log out that character, log in another character on the same account, and repeat the process until all 11 slots are assigned!
Step 6: The Expedition Base Camp
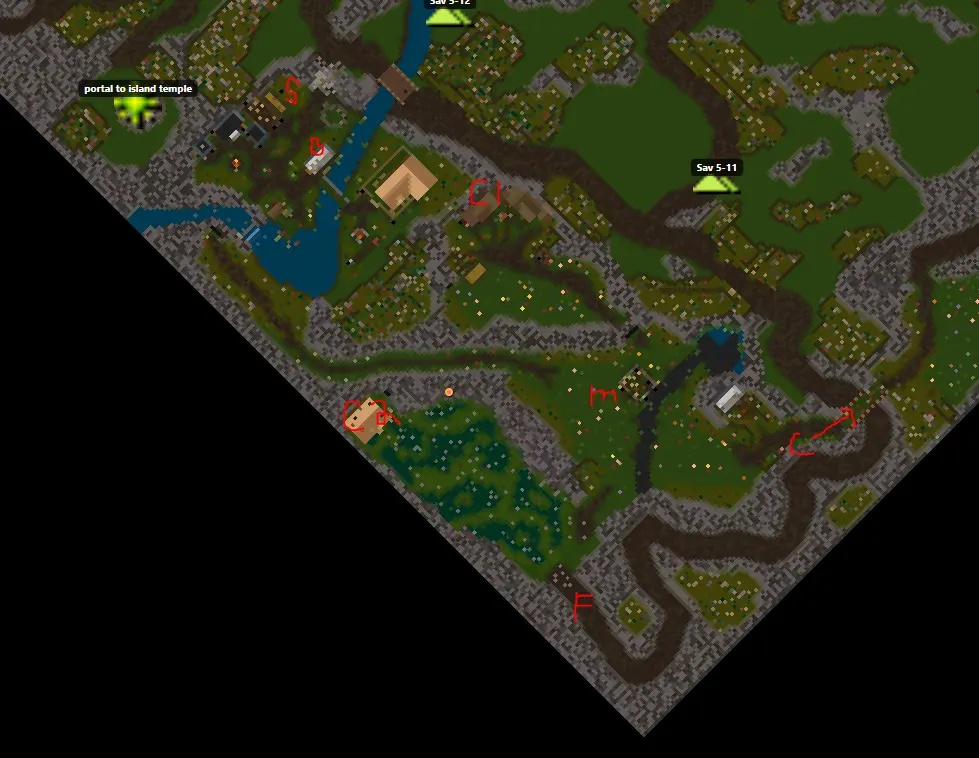
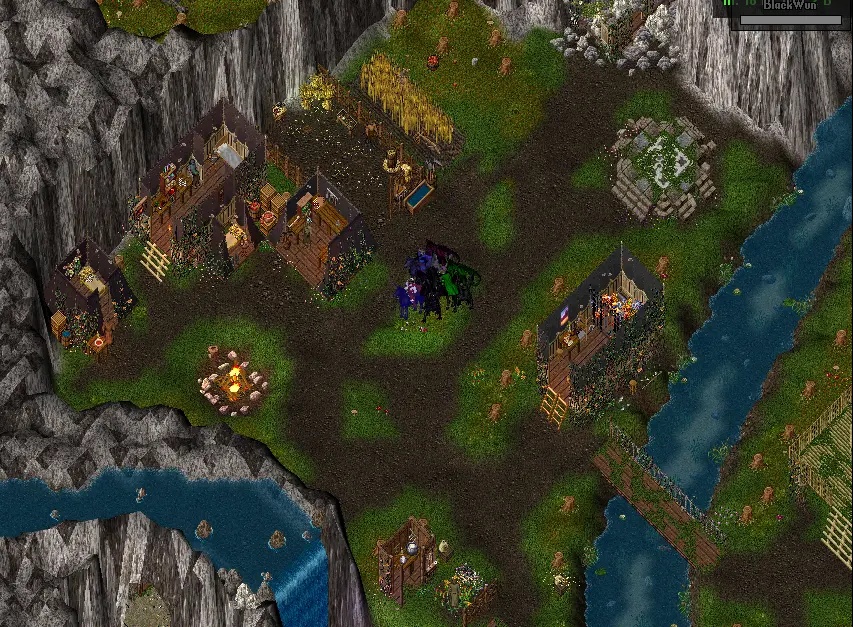
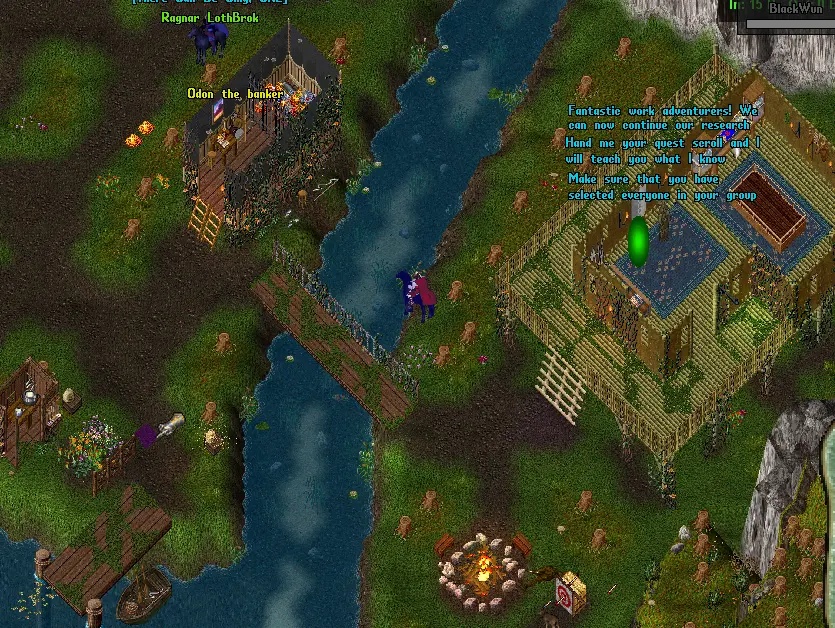
Upon stepping through the gate, party members arrive at the Expedition Base Camp in the lost lands.
- '''Banker:''' Allows players to withdraw reagents, bandages, emergency gold, or spare equipment.
- '''Stable Master:''' Enables tamers to claim or stable backup dragons and fighting pets throughout the event.
- '''Healer & Provisioner:''' Resurrect fallen party members and purchase basic supplies.
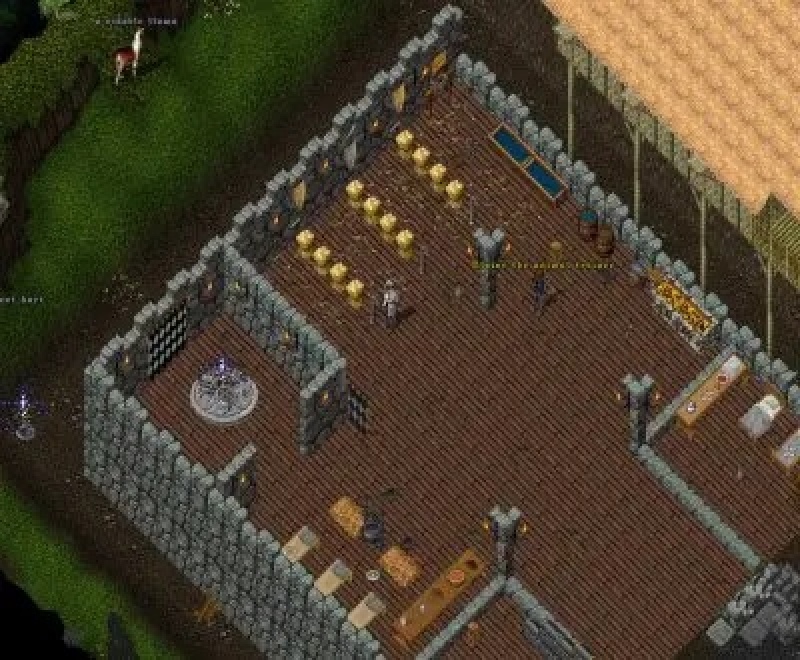
- '''Village Elder Hut:''' Situated east of the camp by the green exit portal; the quest scroll is turned in here after conquering the jungle encounters.
- '''Spawning Rare Painting:''' Search the central ruined building in the middle area! An exclusive rare decorative item, "A ruined painting", has a chance to spawn within these ruins.

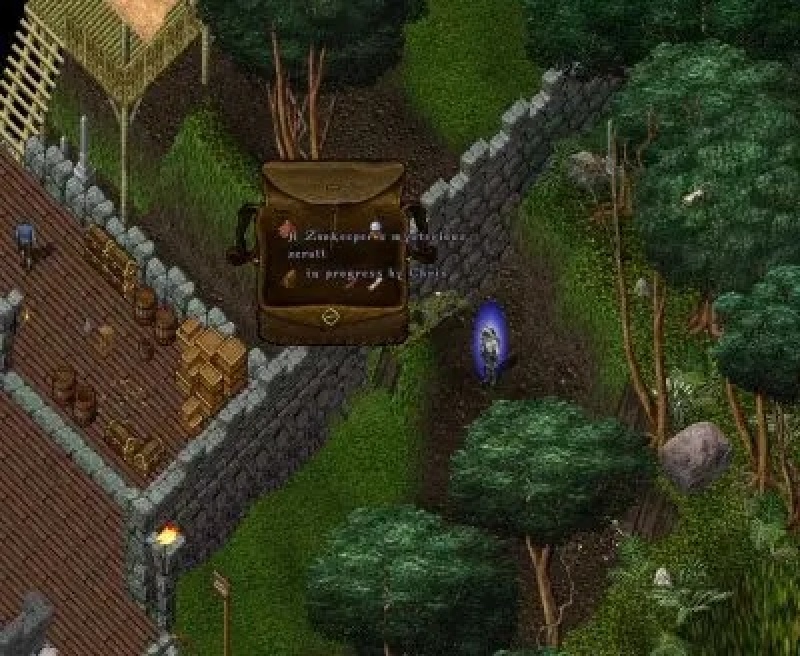
Lost Land Arrival
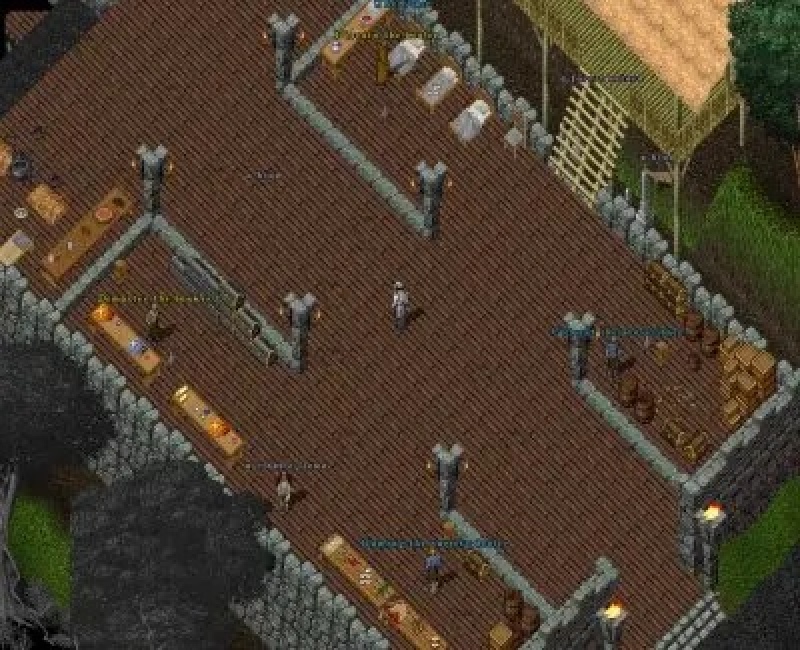
Camp Grounds

Village Elder Hut
Step 7: Dungeon Stages & Tactical Walkthrough
⚔️ Gear & Preparation
- Pet Choice: Dragons Over White Wyrms: Boss monsters in this dungeon take reduced damage from physical melee attacks. However, dragon **Firebreath** completely bypasses this damage reduction! Dragons are vastly superior for burning down the bosses.
- Reagents: Bring at least 200 of each reagent (especially Greater Heal components). Keep surplus stacks in your bank box.
- Bandages: 300+ bandages for Veterinary. Keeping pets alive is paramount.
---
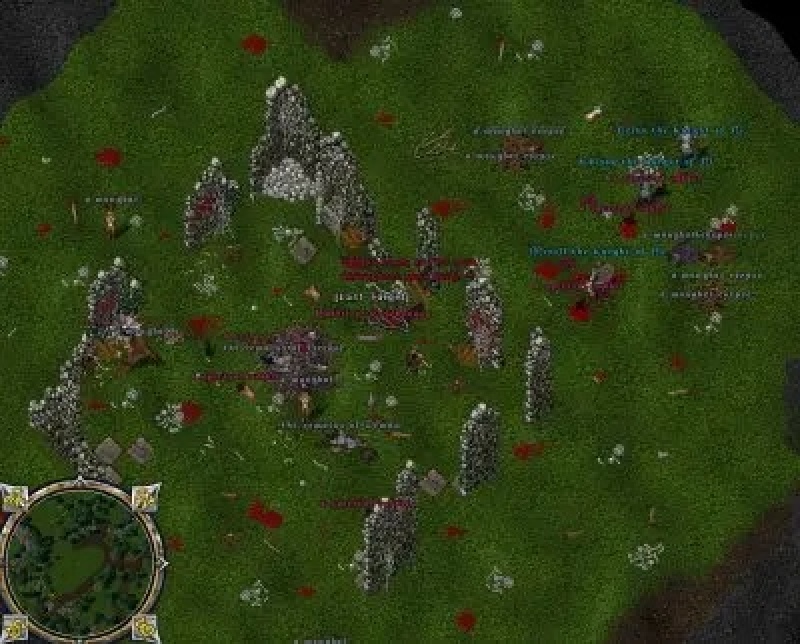
🐍 Stage 1: The Reptile Tamer (Ruins & Creek)
Combat Tactics:
- Staging: Station your dragons north of the ruins along the creek.
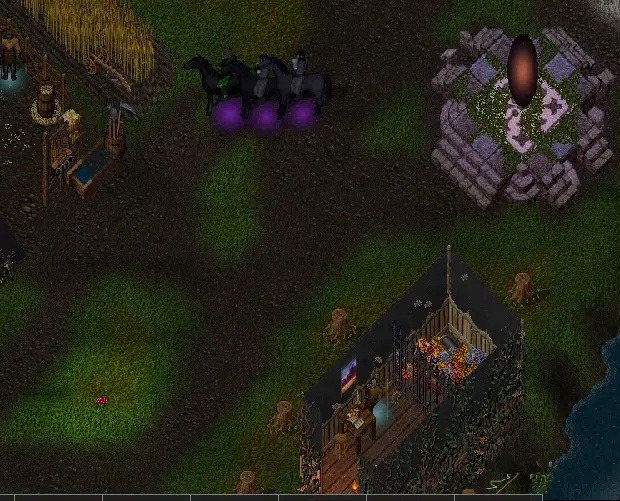
- CRITICAL WARNING: DO NOT damage the Red Boss first! If you damage the Reptile Tamer while his mini-bosses live, he will immediately recall all mini-bosses to his position, potentially swarming and wiping your party.
- Lure Minis: Carefully pull the grey mini-bosses (Anaconda, Wyvern Monarch, Ophidian Queen, Land Shark) one by one toward the creek and slay them with your dragons.
- Peculiar Meat: Always carve the corpses of all mini-bosses with a blade for a chance to collect Peculiar Meat!
- Kill Boss: Once all mini-bosses are defeated, lure the Reptile Tamer to the creek and execute him.
- Loot & Trapped Chest: The boss has a chance to drop the rare Hockey Tribal Mask (Hue 1845). His corpse contains a key to the chest located in C1 Northwest under the tree.
- Trap Warning: The chest is heavily trapped. Pick the lock, step back at least 5 tiles, and cast Telekinesis to safely trigger the trap before looting!


---
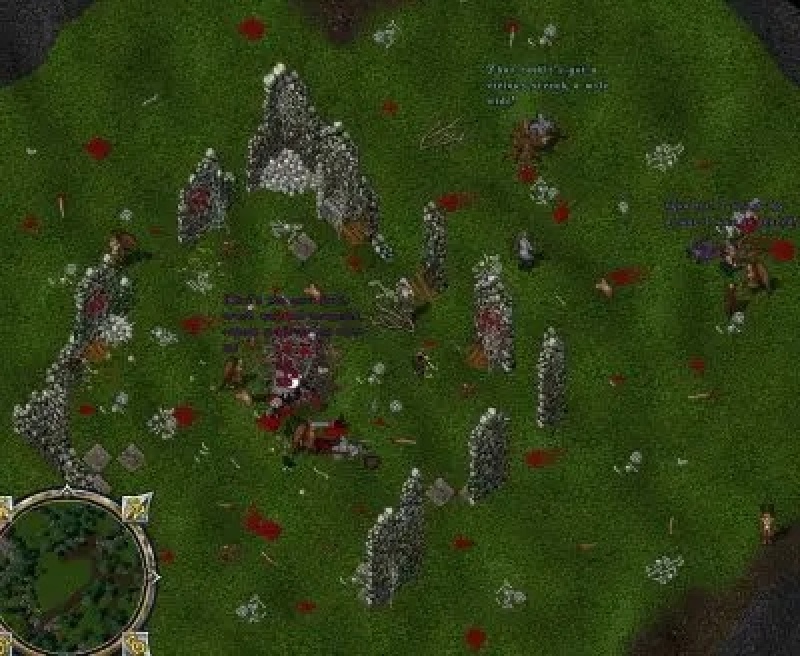
🦍 Stage 2: The Beast Tamer (Swamp & Field Strategy)
Combat Tactics:
- Trigger Circle: Unlike Stage 1, the Beast Tamer does not begin with his mini-bosses pre-spawned. They spawn when a player steps into the summoning circle.
- Field Trap Strategy: Before activating the circle, cast Paralyze Field and Fire Field across the summoning circle.
- Invisibility Escape: Trigger the circle, lure the mini-bosses out toward the bridge/creek, and immediately cast Invisibility on yourself to break aggro. The red boss has a long aggro range; if he targets you, cast a harmless spell on him to lure him away from your dragon line so his mini-bosses do not teleport onto your head.
- Harvest Meat & Slay: Carve all mini-boss corpses for Peculiar Meat, then burn down the Beast Tamer.
- Rewards & Chest: The Beast Tamer has a chance to drop the rare Hockey Tribal Mask (Hue 2001). The chest key on his corpse opens the chest located inside the wooden hut to the west.
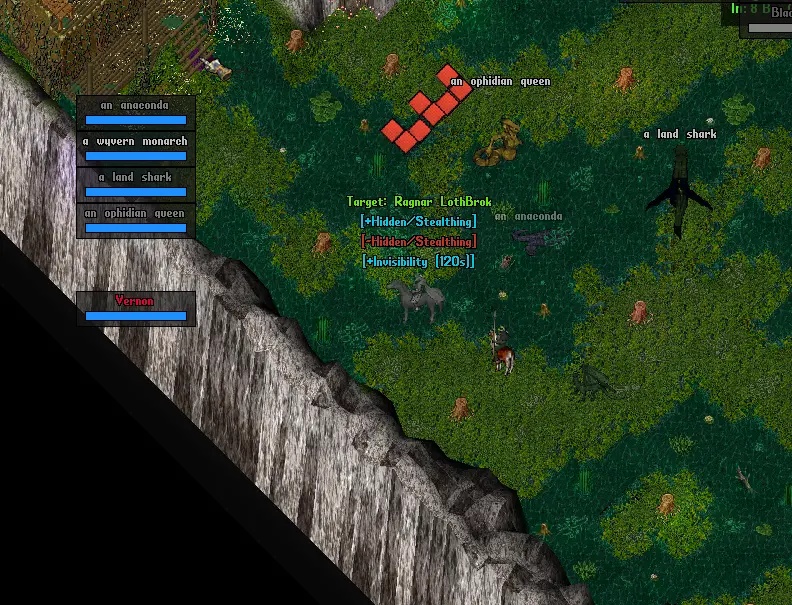

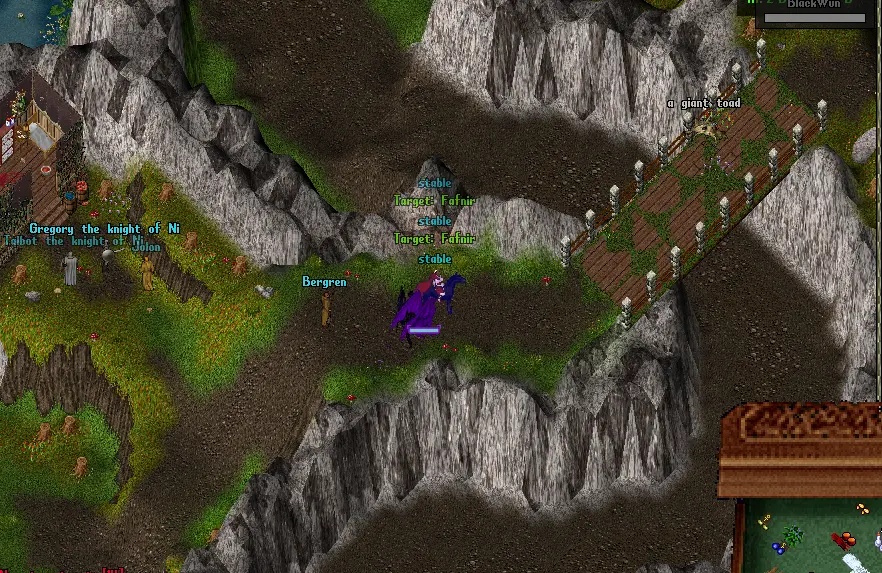
---
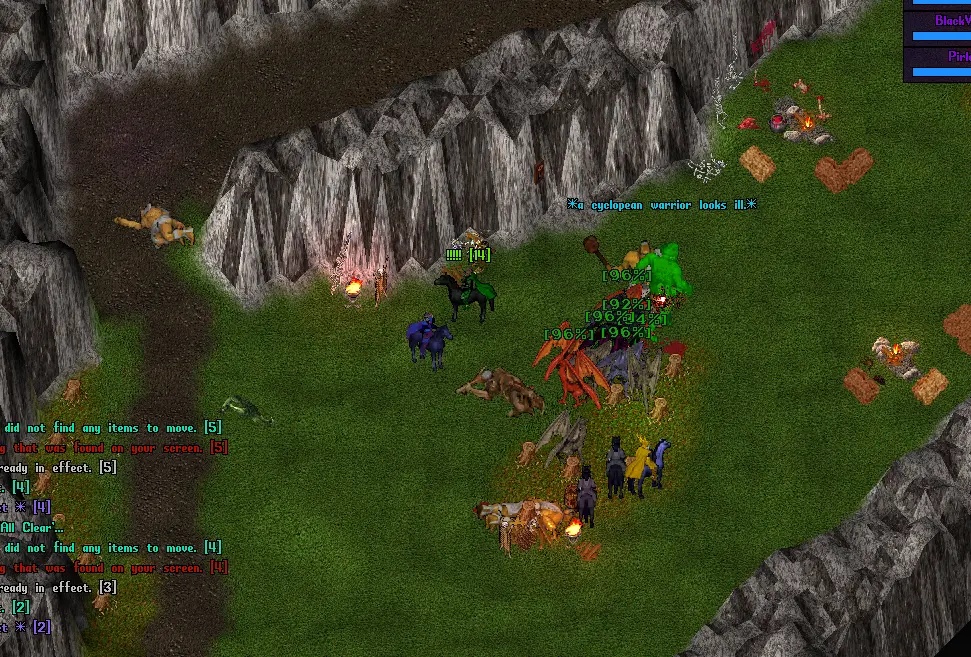
🐇 Stage 3: The Northern Bridge, Titans & Rabbit of Caerbannog
Combat Tactics:
- Bridge Crossing: Head north out of the swamp and cross the C-Arrow wooden bridge. Engage the Cyclopean warriors, Titans, and Titan mini-bosses. Remember to carve Titan mini corpses for Peculiar Meat.
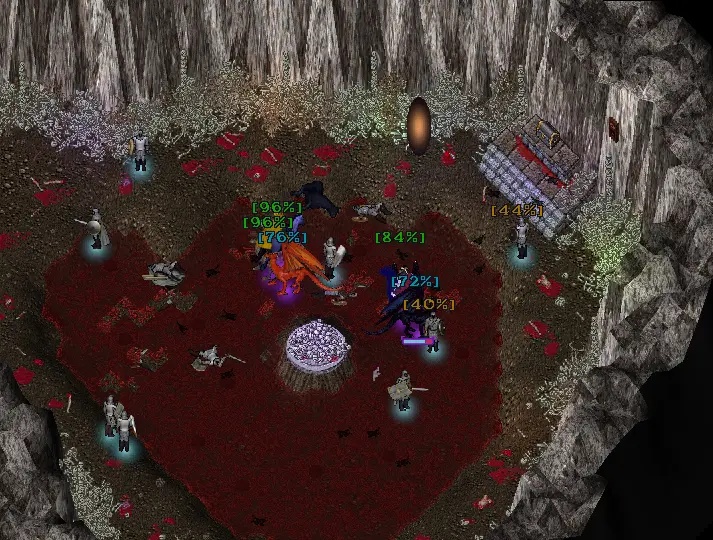
- The Caerbannog Encounter: Advance north toward the cavern entrance to confront the legendary Rabbit of Caerbannog and his Spectral Rabbits.
- Focus Spectral Rabbits: Always target and eliminate the Spectral Rabbits first! If party dragons fixate solely on Caerbannog, the swarm of spectral rabbits can overwhelm pets.
- HP Spawn Phases: Caerbannog spawns fresh waves of spectral rabbits at specific health percentages:
- 88% Health: Summons wave 1.
- 68% Health: Teleports deeper inside the cavern opening toward the Blood Bath and summons wave 2.
- 48% & 28% Health: Summons waves 3 & 4 inside the cavern.
- 8% Health: Final desperation frenzy at the Blood Bath.
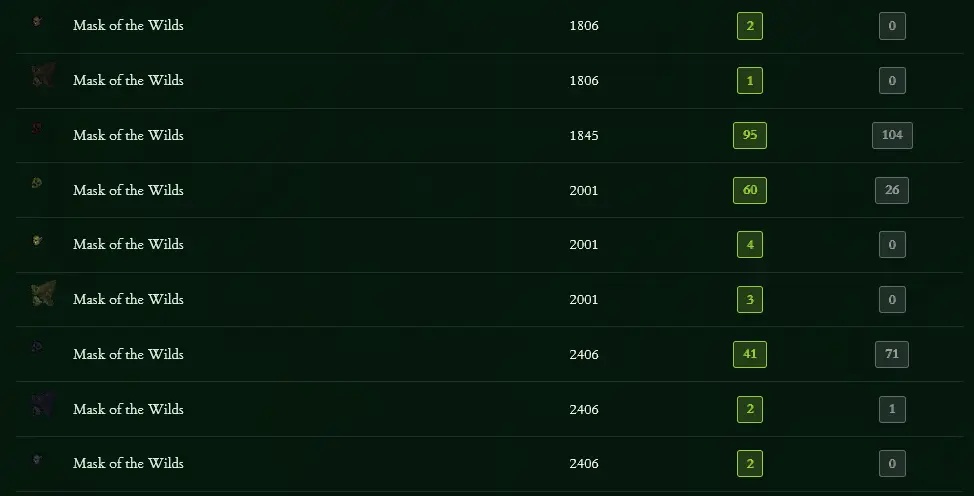
- Apex Rewards: Slaying the Rabbit of Caerbannog yields a chance at various hued Masks of the Wilds. His corpse holds the key to the cavern chest on the north wall.
- Return Gate: An exit gate will open inside the cave to take you back to the base camp bank. Enter promptly, as this gate closes after a limited time!

Step 8: Rewards & Claiming Advanced Pet Bonding
- Step through the cavern gate back to the Expedition Base Camp.
- Deposit all dungeon loot, chests, masks, and Peculiar Meat in your bank box and stable your combat pets with the Stable Master.
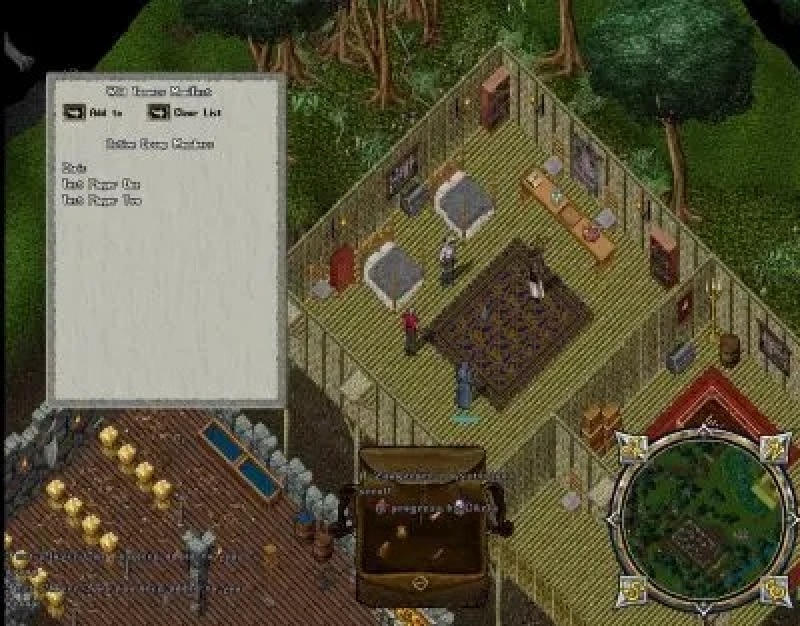
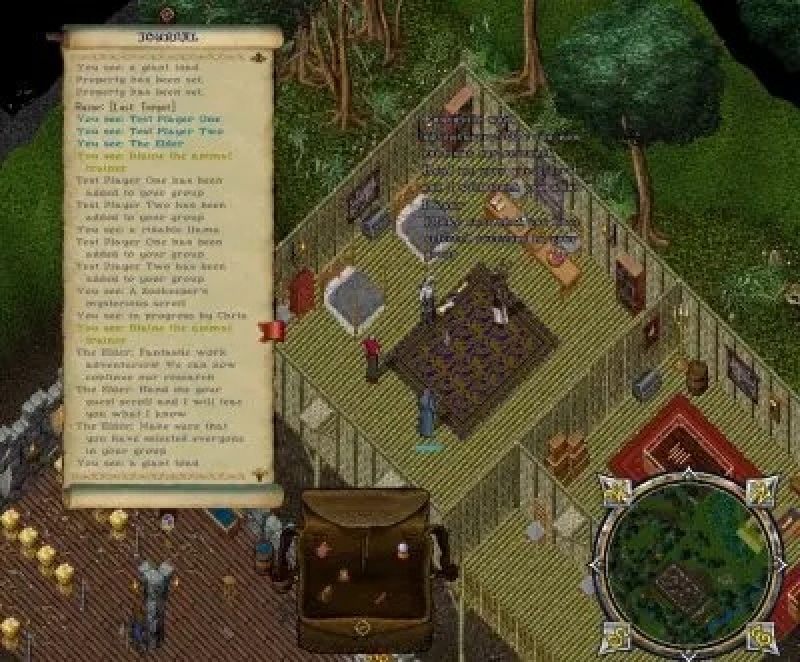
- Verify the Roster: Open the Quest Scroll gump and confirm that all 11 player slots are assigned (the "Add" button disappears once full).
- Walk east of the bank to the Village Elder standing in his hut beside the green exit portal.
- Drag and drop the Quest Scroll onto the Village Elder.
- The Elder will open a confirmation gump asking if you are ready to learn about advanced pet bonding. Click "Yes"!
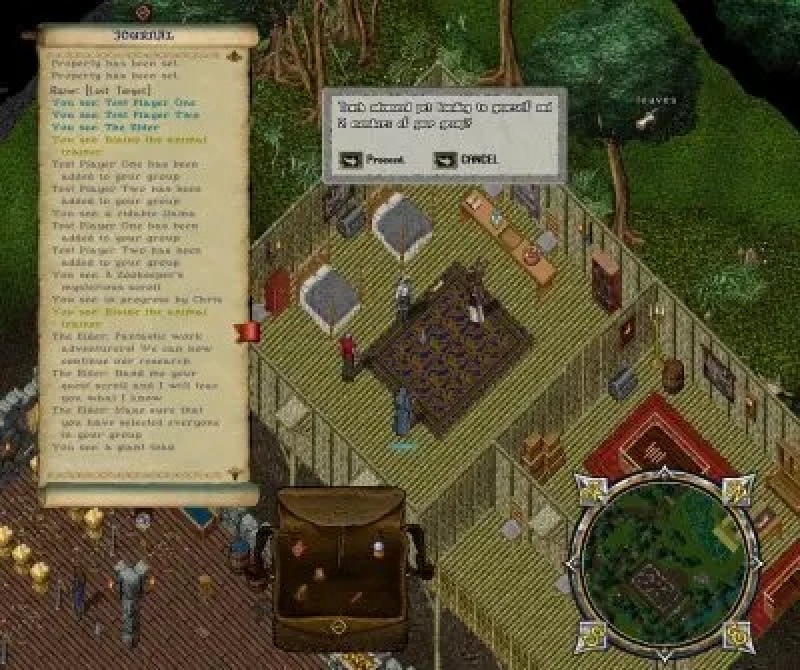
- Rewards Dispatched: The Elder bestows +1 Bonded Pet Slot and +1 Stable Slot to every character registered on the scroll roster!
- Step through the green gate beside the hut to return safely to Britannia.

Ironman Challenge (2 Tamers)
- Roster Restriction: The instance must be cleared by a team of strictly 2 Tamers.
- Time Restriction: All three stages, bosses, and turn-ins must be completed within the 2-hour instance timer.
- Scoring & Recognition: Upon completion, the scroll owner receives dedicated Ironman information and special recognition for mastering the wild tamer gauntlet under extreme handicap conditions.
Frequently Asked Questions (FAQ)
- Q. How many times can a player complete the quest to obtain more bonded pets?
- A. You can complete the Zookeeper Quest as many times as you like. There is no hard cap on the number of bonded pet slots or stable expansions you can accumulate over time through repeated runs.
- Q. How many total players can learn advanced bonding per scroll?
- A. Each completed scroll provides **11 bond slots**: 1 guaranteed for the scroll owner, plus 10 designated party members.
- Q. Can one character receive multiple bond slots from a single scroll?
- A. No. The limit is strictly **1 bond slot per character per scroll**. However, an account owner can add multiple characters from the same account onto the scroll by logging between them and using the `Zook` and `Pap` shortcut!
- Q. How many players can enter the dungeon instance to fight?
- A. There is **no limit** on how many players can step through the initial 60-second entrance gate to help battle monsters. However, only the 11 characters registered on the scroll gump will receive the bond and stable slot rewards upon completion.
- Q. What happens if I lose the initial Zookeeper Quest scroll?
- A. The initial quest scroll is blessed and should not be lost under normal circumstances. If lost through non-standard means, you must purchase a replacement from the Moonglow Zookeeper for 4,995 gold and start the hunt over.
- Q. Is the green expedition scroll safe?
- A. When received from the Zookeeper, the green magical scroll is temporarily not newbied. Keep it secure until you double-click it; upon activation, it becomes permanently **Blessed** for the duration of the event.
- Q. Do helpers need to complete the animal turn-ins to participate in the dungeon?
- A. No. Only the scroll owner needs to collect the 23 animals and turn them into the zoo. Friends, guildmates, and hired mercenaries can enter freely through the open gate to assist with boss fights.